Hello! I'm going to take you step by step through building our Low Cistern Toilet kit. I'm using the 1/24th scale version in these photos. The 1/48th model follows the same steps without the separate handle.
You will need:
- snips or side cutters
- acrylic paints
- superglue
- a wooden box or similar, at right angles to the work surface
- Begin by painting your pieces. Don't forget, a good quality primer and top coat really help! Leave the handle on its support for ease of painting.

- Use a drop of liquid Superglue to attach the lid to the toilet base.

- Attach the template to something solid and upright using tape. I'm using a little wooden drawer. Then put the base down on the marked footprint.

- Put a drop of glue on the bottom end of the cistern pipe.

- Use the upright box and the printed shape to help you keep the correct alignment as you slide the cistern down onto the base. Leave for a few minutes to dry.

- Lie the toilet on its back. Use snips to cut the handle free of the support.

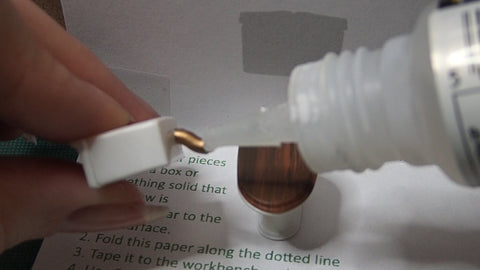
- Dip the end of the handle in a spot of liquid superglue, then insert into the hole. Keep it steady for a few seconds until the glue takes.

- Finished :)

If you'd like to buy this kit, or a finished, painted model, I have them available in 1/24th and 1/48th scales (and in 1/144th, with no assembly needed!) I hope this was helpful. Let me know in the comments what you think.


